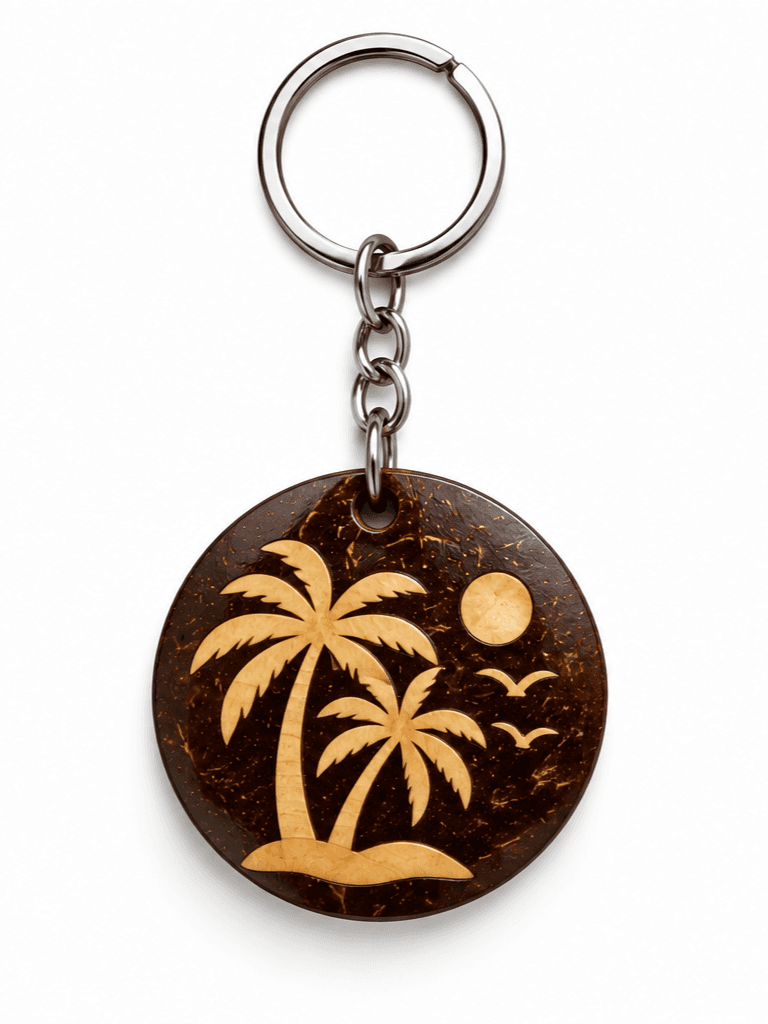
The journey of a coconut craft begins high in the palms of coastal groves. In this post, we take a look at the hands, tools, and time required to turn a raw shell into a finished piece of utility.
1. Sourcing and Selection
Artisans begin by selecting mature coconut shells. Maturity is key because younger shells are thinner and prone to cracking. Once harvested and emptied, the shells are sorted by size and shape. Bowls require uniform, hemispherical halves, while keychains or soap trays utilize flatter fragments.
2. De-husking and Scraping
The fibrous husk (coir) is removed. The exterior is then scraped with traditional hand tools to remove the rough, hairy fibers. This is hard work requiring a steady hand to avoid gouging the shell itself.
3. Sanding and Polishing
This is where the transformation becomes apparent. Using progressively finer grades of sandpaper, the artisan rubs the shell until the grain patterns emerge. For a matte sheen, they sand it lightly; for a glossy finish, they sand it to a glass-like texture.
4. Natural Treatment
To make the bowls food-safe and water-resistant, they are finished with pure, organic coconut oil. No chemical lacquers or synthetic varnishes are used. The oil penetrates the shell, deepens its natural chocolate hue, and seals it from moisture. It is a slow, cyclical process that treats the material with respect.